|
|
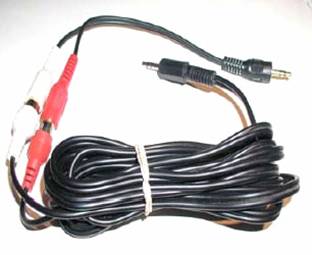
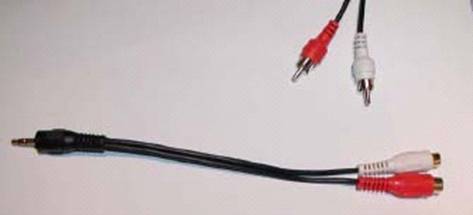
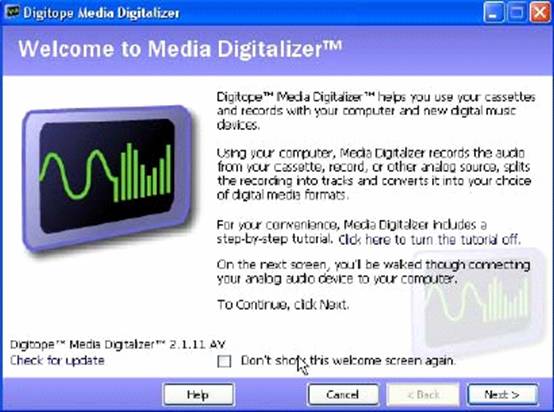
CD Burning for Everyone, Robert Du VernayConverting that old Cassette Tape to a DIGITAL CD formatIn a recent CD Burning for Everyone presentation, I demonstrated Digitope™Media Digitalizer™ V2.1.11 av For analog-to-digital conversion of vinyl LP records, you need a PLAYER [TURNTABLE / AMP]. Cassette tape conversion requires a PLAYER w/ OUTPUT. The LP or cassette tape must be connected to the CPU audio INPUT, which is labeled either micro phone IN, or audio IN. When a cassette tape is the SOURCE, it will eliminate any power flux problems. If you’re planning on using a portable cassette player, it’s important to make sure you have an auxiliary power supply. INPUT can be provided by a SONY boom box, and output is the HEAD PHONE jack. Micro Jack line is the STEREO connection. The audio IN is the connection point on the CPU, NOT the MICROPHONE in. Figures: Stereo MICRO jack connector
You can purchase a one piece unit 3 m / 12 ft. at Micro Center for $5.40 on Aisle 34. So the list of HARDWARE includes: cassette tape (Source), Sony boom box (Player), stereo micro jack (Connector), and audio input (your computer). For the SOFTWARE…there are several programs available, so use whatever you have -- Digitope ä Media Digitalizer ä 2.1.11 av (www.digitope.com) , Roxio v 7 Medial Creator Suite (www.roxio.com), or NERO 6 Ultimate Edition, (www.nero.com).
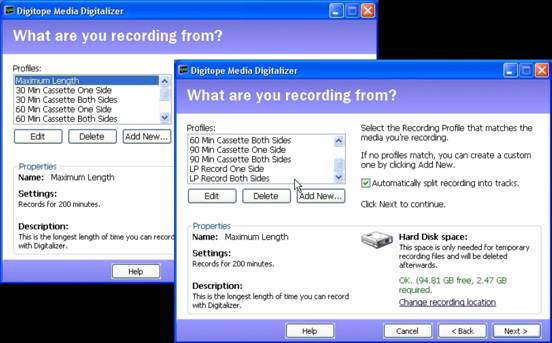
You need to thoroughly READ the TUTORIAL for Digitope Media Digitizer, because the selection you make can directly affect the quality !
Set the length for MAXIMUM length, you can’t go wrong. The Max TIME is determined by your free HD space.
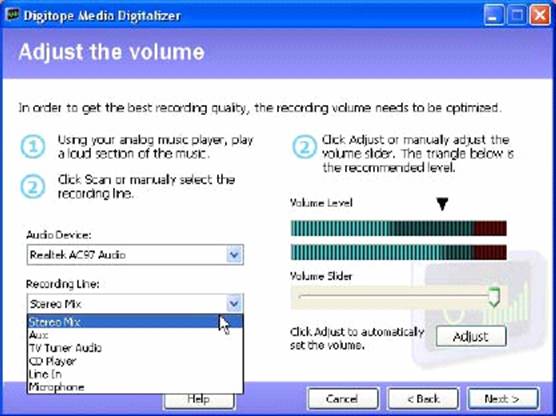
Voilà, you will be recording the ANALOG signal when you complete the following steps: ADJUST the VOLUME. Rewind to position the SOURCE tape. Click / Press the RECORD button, and Start the PLAYER.
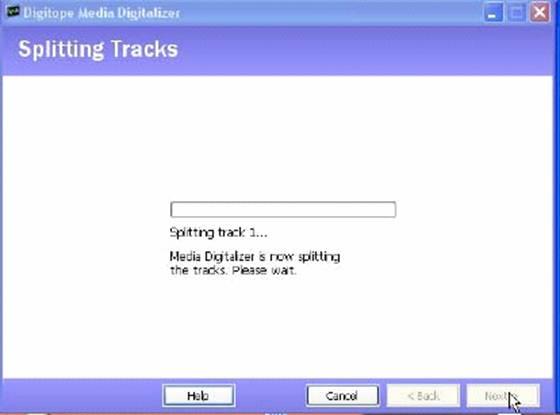
Be sure Side-B is aligned and starts at the beginning. You’ll notice that cassette tapes come in C90 and other sizes. When you reach the end of Side-A, intervention is required in this process. You must PAUSE the Record function, flip the tape over, and re-start PLAY button. You can edit out any bumps and clicks later. After both sides of the cassette have been recorded, press the STOP function. “STOP – YES” will end the capture of the analog signal, and the “NEXT” button moves us on.
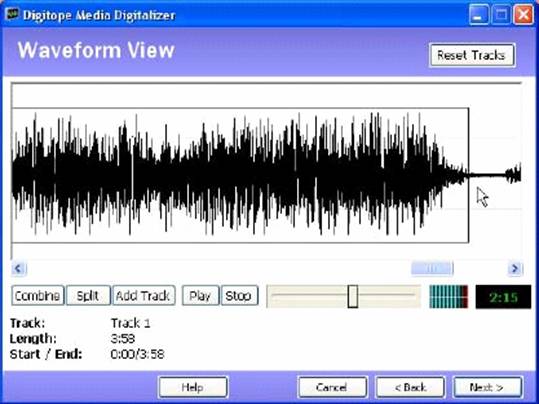
The analog capture is converted to one BIG digital string, a digital WAVE type file.
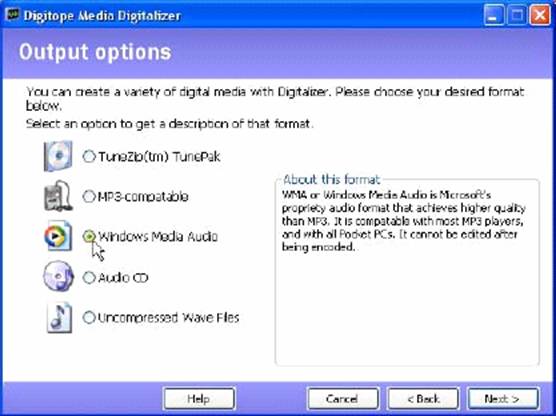
Be very careful, because you can easily “wipe out!” You are automatically in EDIT mode, so please LOOK at the tutorial screen on the right. One wrong keystroke or two and all that good recording effort is GONE ! This is REALTIME processing ! ALL of the functions are explained in the program’s tutorial. This program is very unforgiving software, so you MUST keep the tutorial screen on the right for reference. There are no SAVE features in this software, other than the final output. So it’s very important to answer your questions first by READING THE DOCUMENTATION. After you’re FINISHED with all the editing… (finally!) it’s time for more decisions! FORMAT(s), Track ID, Other stuff, what to burn to a CD ? You can convert the digital file to TunePak, MP3, Windows Media Audio, Audio CD, or Uncompressed Wave File. All those Options! It’s your choice…
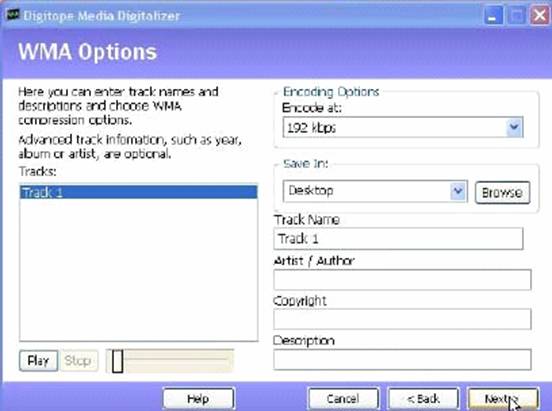
WMA:
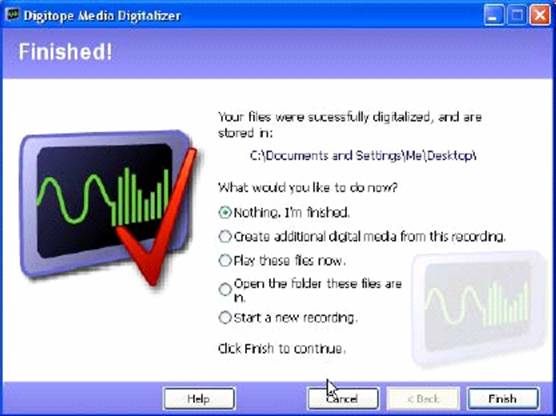
Several things may or may not happen at this point, all of which are dependent on your selections! You can burn a CD, or save the WMA / MP3 files to your Hard Drive. Carefully examine the SCREENS you are presented, and keep the tutorial on the right so you can look at it if you have questions. Digitope is not a very forgiving product, but it does work. The “Finish” button will terminate the program or you can begin on tape 2.
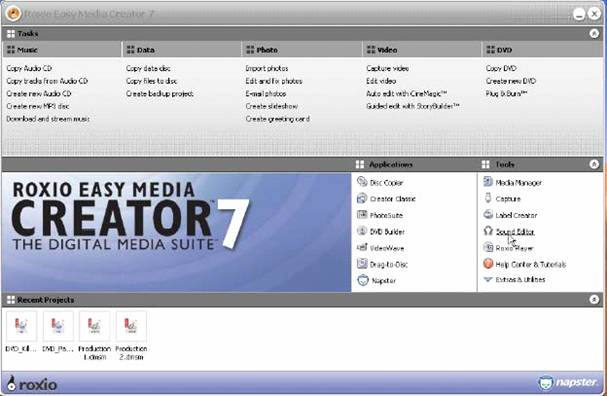
ROXIO v 7 options…
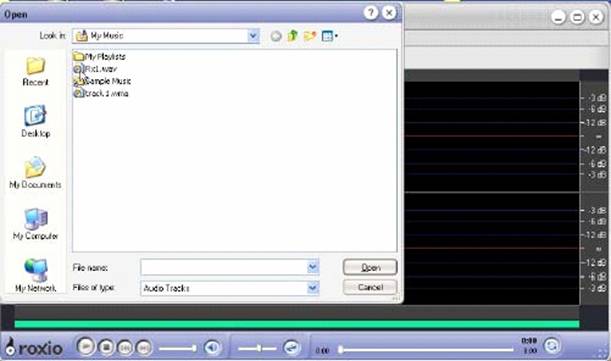
Look a little closer to find the Sound Editor. Roxio / Sound Editor will allow you to SAVE files, and the editing is a bit more polished. Roxio v7 does the same thing as Digitope. Sound Editor . . .
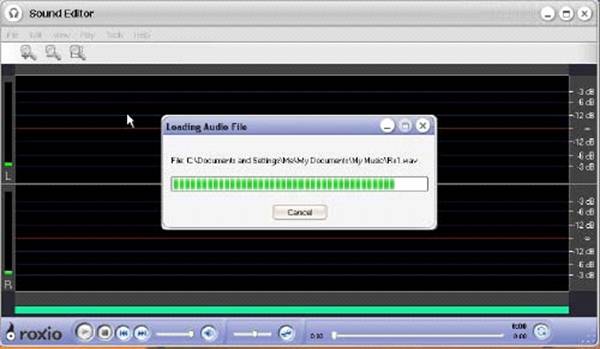
Rx1.wav…a saved WAVe file
Rx1.wav
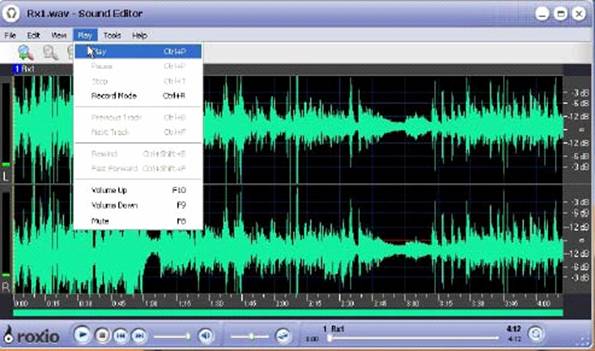
The Rx1.wav file looks like this…
With ROXIO, the Connection / Setup is the same, and the REAL TIME play requirement is the same. There is a SAVE option, which is priceless on LPs for sure. The editing is more sophisticated, but the output save options are much the same. You’re going to have to invest some of your time to master this. If you require a better quality of recording, you should look about on the web/Internet for Professional grade Digitizers / Converters. They do exist, and are well documented. What you seek can be found there. Better recordings also require better input that the SONY boom box provides. Once you make a DIGITAL stream / recording, it will not DEGRADE. NERO v 6 Ultra Edition basically does the same thing, but you may have to pay for some extra add-ins. Robert Du Vernay is a HAL-PC member who presents “CD Burning for Everyone.” He can be reached at rpd@hal-pc.org. |
2010 2009 2008 2007 2006 2005 2004 |