|
|
Tips and Tricks
|
|
By showing you several tables you’ll be exposed to techniques that can be used for whatever you can imagine, like agendas, lists, menus, product lists.
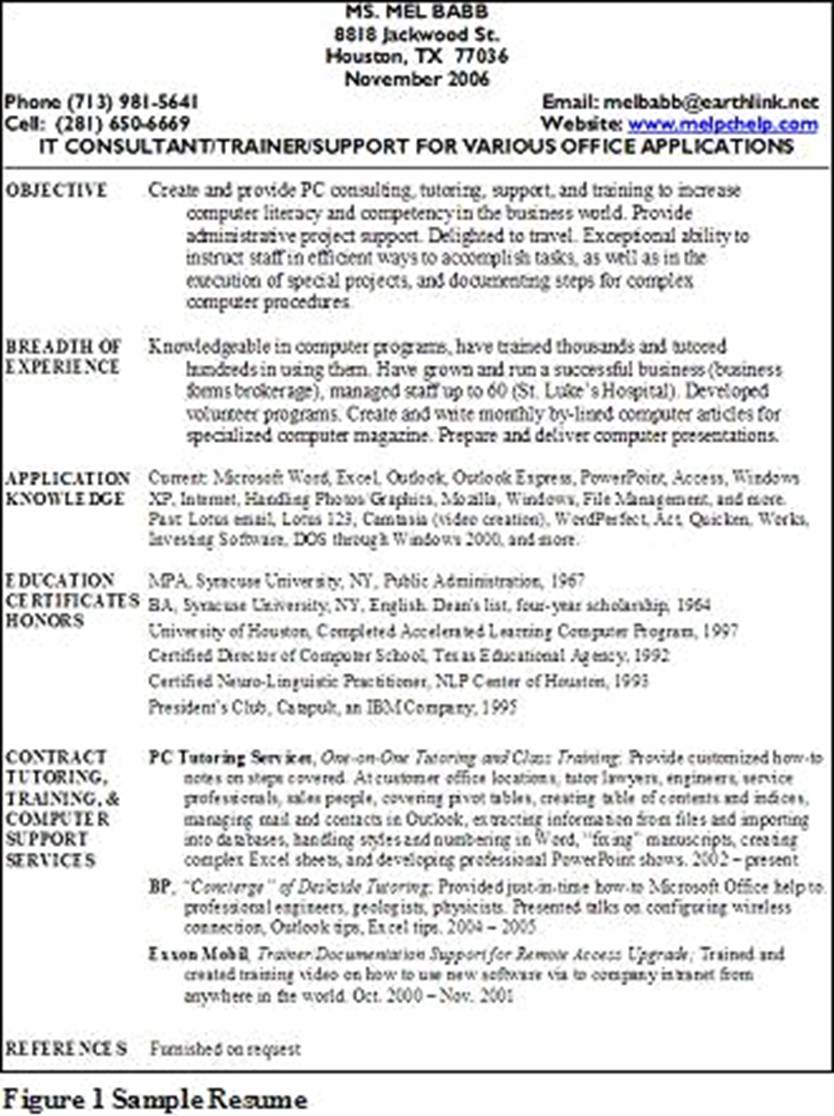
Here’s a way to format your resume’ in a table. See Figure 1 Sample Resume to follow what I’ll be describing. Before creating a table some preliminary setup and typing needs to be done. In a new document, change the left and right margins to 1”. (Click File, Page Setup to access the margin dialog box.) Start by typing heading information for a resume. Use ordinary editing. Specifically, type your name and address. Then select these lines and click the Center icon and the Bold icon on the toolbar.
Set Right Align Tab
|
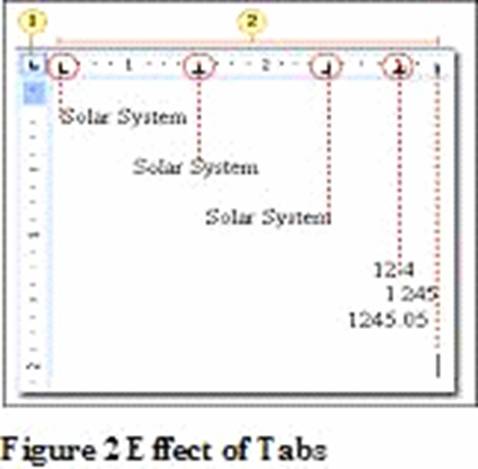
For the Phone, email, and website lines, add a right aligned tab before you start typing. Click the Left Tab selector icon twice. (1 on Figure 2). The selector displays a right align icon ![]() . See Figure 2 Effect of Tabs to look at what each tab does. The 2 on Figure 2 shows tab stops positioned along the ruler. The center tab
. See Figure 2 Effect of Tabs to look at what each tab does. The 2 on Figure 2 shows tab stops positioned along the ruler. The center tab  types one letter to the right and then a letter to the left of where the tab is set. The decimal tab
 ![]() will line up numbers at the decimal point. To place a tab, click on the ruler bar where you want the tab. When you are done placing any type of tab except the left tab, at the left of the ruler bar click to see each symbol until you get back to the left tab.
will line up numbers at the decimal point. To place a tab, click on the ruler bar where you want the tab. When you are done placing any type of tab except the left tab, at the left of the ruler bar click to see each symbol until you get back to the left tab.
There’s a trick to setting the right tab on the right margin. Point 1) just before the right margin, 2) below a tick mark, 3) in the white space. Click there. A right icon appears on the ruler bar. Drag it to the right margin ![]() . If you end up with more tabs than you want, simply click and drag them off the ruler (either up or down) and let go of the click. Poof. They’re gone. For more information about what’s on the ruler bar and how to use it see office.microsoft.com/en-us/word/HA011226861033.aspx.
. If you end up with more tabs than you want, simply click and drag them off the ruler (either up or down) and let go of the click. Poof. They’re gone. For more information about what’s on the ruler bar and how to use it see office.microsoft.com/en-us/word/HA011226861033.aspx.
At the left margin, type the phone number information. Press tab. The cursor is now at the right margin. Type your email address. Each character you type moves “backwards” from the margin. Click the tab selector button 5 times (at the left of the ruler bar) to cycle through all the icons back to left tab. Press enter.
Type the job type you want on this next line. Click the Bold and Center icons. Press enter twice.
Insert a Table
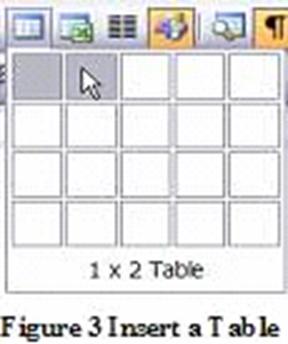 |
When you want information in one “column” that has more (or less) lines than information in the “column” next to it, use the table feature, NOT the column, tab, or indent features. The lines, called gridlines, around the table can be turned off for a clean finished appearance (See Figure 1).. Just determine how many columns you need. No need to pre-plan the number of rows, because a row will be added when you press tab in the last cell. So, to create a 2 column table (the maximum is 14 columns), click the table icon, drag across 2 squares and let go. See Figure 3 Insert a Table . Type “Objective” in the first cell. Press Tab to move the cursor to the next cell. Type the text of your objective. For instance, “Make as much money as I can, doing what I really love to do. I have exceptional, natural ability to accomplish great things.” Press tab and a new row appears. If you pressed enter instead of tab, a new line starts in the same cell. Press the backspace key to get rid of the line (or click the undo key).
Continue with your Education, Positions, and whatever other categories you want. Finally turn off the gridlines. Click Table, Hide Gridlines. Preview the document and adjust anything you need to. Save your resume. Print it, email it. You’re done.
 |
Let Word do the work
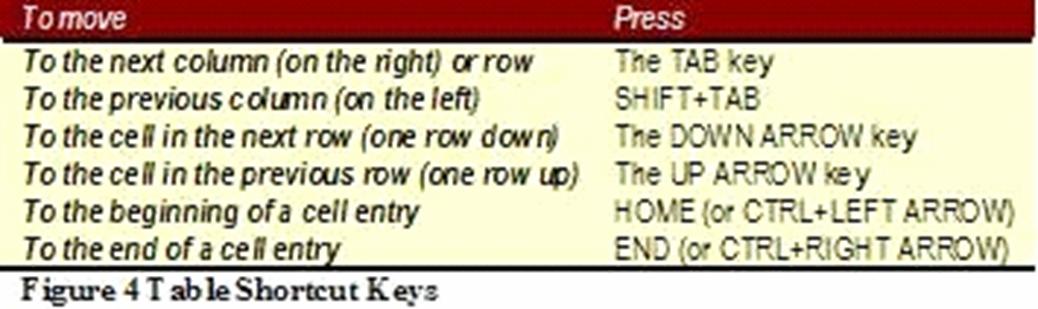
Oftentimes using shortcut keys takes less time than clicking the mouse. See Figure 4 Table Shortcut Keys for table shortcut keys. Rather than manually adjust the table, Word has auto features you can use.
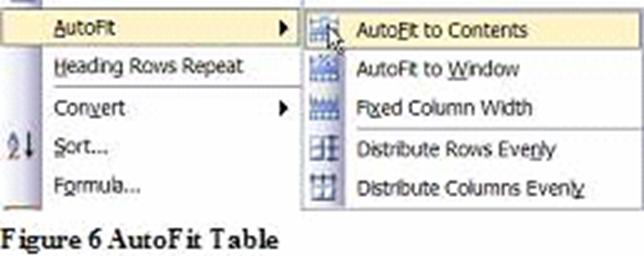 |
With Microsoft Word 2003 (and maybe 2002) you can quickly adjust the size of your table to fit the contents. Select the table, click Table, AutoFit, AutoFit to Contents. See Figure 6 AutoFit Table . Incidentally, if you insert a column in your table and it then extends beyond the margins, select it by clicking the 4-headed cross  in the upper left corner of the table. The icon appears anytime the cursor is pointing in the table. Click Table, AutoFit, AutoFit to Window. Notice the other things Word will adjust for you, like evenly distributing rows and columns. This is handy to use after you’ve added more columns. Using the Table AutoFormat feature on the table menu lets you pick a look with just a click. Click Table AutoFormat and pick a format you like.
Forms Made With a Table
 |
|
|
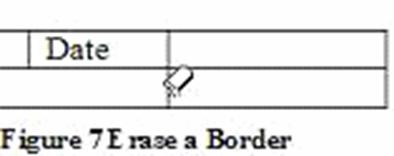
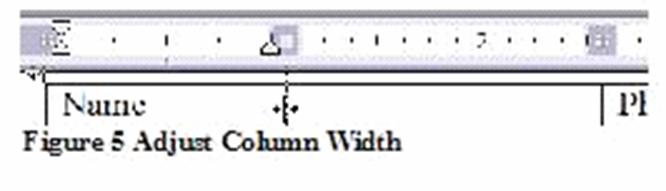
Let’s make a form for name and address. See Figure 8 Start of Form with a Table for what it will look like in the first stage. Begin with a 4 cell table. Drag the border (the line) between the cells to make the appropriate space for caption and entry Figure 5 Adjust Column Width . To remove the extra column borders in the address line, open the Tables and Borders toolbar. Click View, Toolbars, Tables and Borders. Click the eraser tool (2nd icon), Figure 7 Erase a Border, and erase the lines by dragging over them. Click outside the table to stop erasing.
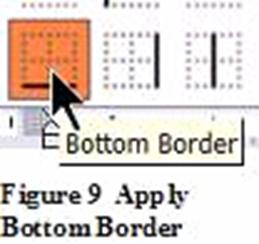 |
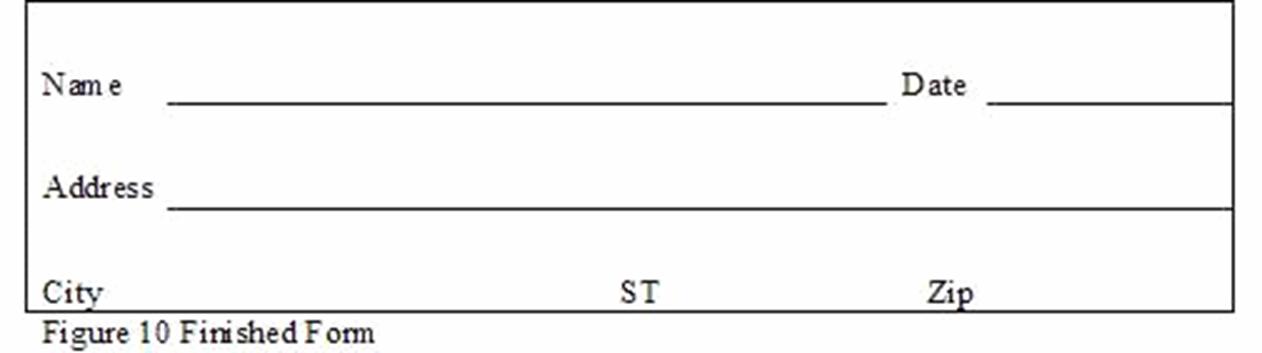
To add lines back on the next line for city, state, zip, click the Draw table icon (1st icon) and simply draw the lines where you want them. Turn this off by clicking the icon again or pressing Esc. You can also use the merge and split commands from the table menu or toolbar to add and delete lines. Once you get the table set up, select each blank cell. Point at the left side of the cell until you see the select cell symbol  and click. Hold Ctrl and click each blank cell. They turn black. Click the drop down arrow to the right of the Border icon and choose the bottom border, Figure 9 Apply Bottom Border. Turn off the gridlines. Make the height of the lines wider. Select the table. Right Click and choose Table Properties. Click Row and check Specify Height. Type .5 and click ok. On Table toolbar, click the drop down arrow to the right of the Align icon and choose Align Bottom Left. Select the whole table. Using the border icon on the toolbar, choose Outside Border. Click Table, Hide Gridlines. The result should look like Figure 10 Finished Form.
When you have time, experiment with the other tools on the toolbar. Using tables you can create all kinds of layouts with the help of the gridlines and then turn them off so your have a nice clean-looking document. If you want more help on tables, just search on Google for table tutorials and how-to’s.
Till next time. Happy computing.
Mel Babb, a long time member of HAL-PC, is currently an instructor and on the volunteer Help Committee at HAL-PC. She runs her own company, PC Tutoring Services. www.melpchelp.com She comes to your office or home and creates notes for you on what you want to learn. Contact her at 713-981-5641 or email at mel@melpchelp.com © 2007

2008
November/December
2007
November/December
October
September
May
March
January
2006
Nov/Dec
October
July
June
May
April
March
February
Mel Babb, a long time member of Hal-PC, is currently an instructor and on the volunteer help committee at Hal-PC. She runs her own company, PC Tutoring Services. She comes to your home and creates notes for you on what you want to learn. She can be reached at melbabb@earthlink.net